
REMOVAL:
1) Start by borrowing your wife/girlfriend's cosmetic mirror and set it under the scooter. I had a motorcycle mirror handy so it had to do. Lie on the ground and loosen the two 10mm muffler bolts at the manifold. Use an extension to avoid swearing.

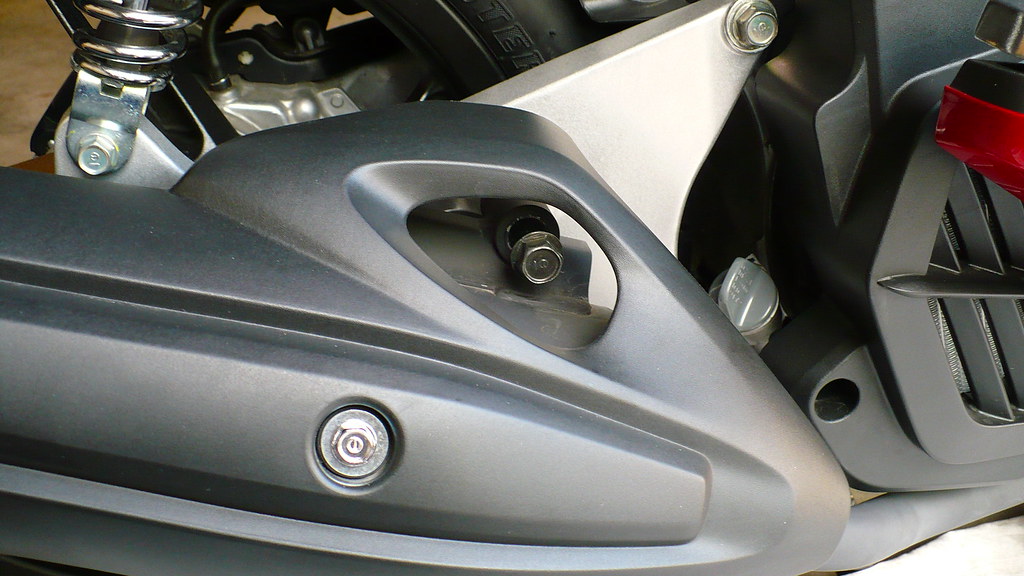
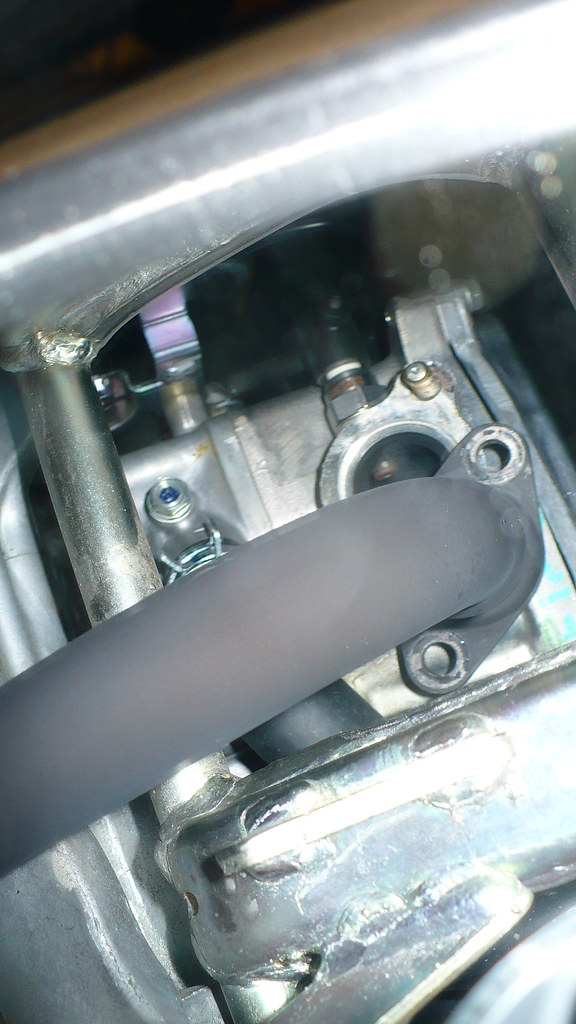
2) Loosen the 3 bolts holding the muffler. From this view we can see that the heat shield does not need to be removed.
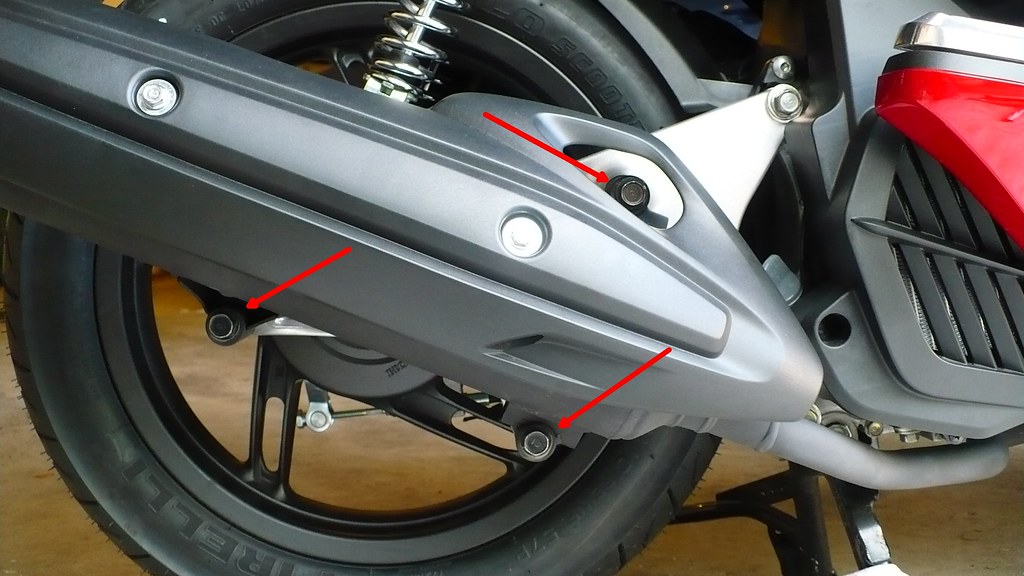
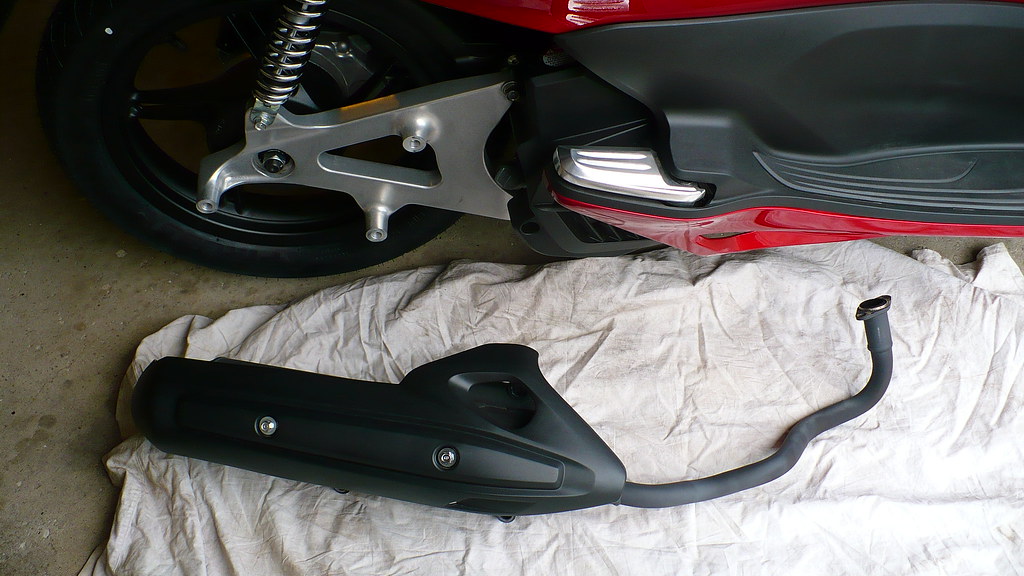
Remove the 2 lower bolts and the the upper bolt and then remove the muffler and place it somewhere.
3) The swing arm is held in place by 2 bolts (14mm) and the axle nut (24mm) Also the rear shock absorber bolt (12mm) is secured to it.
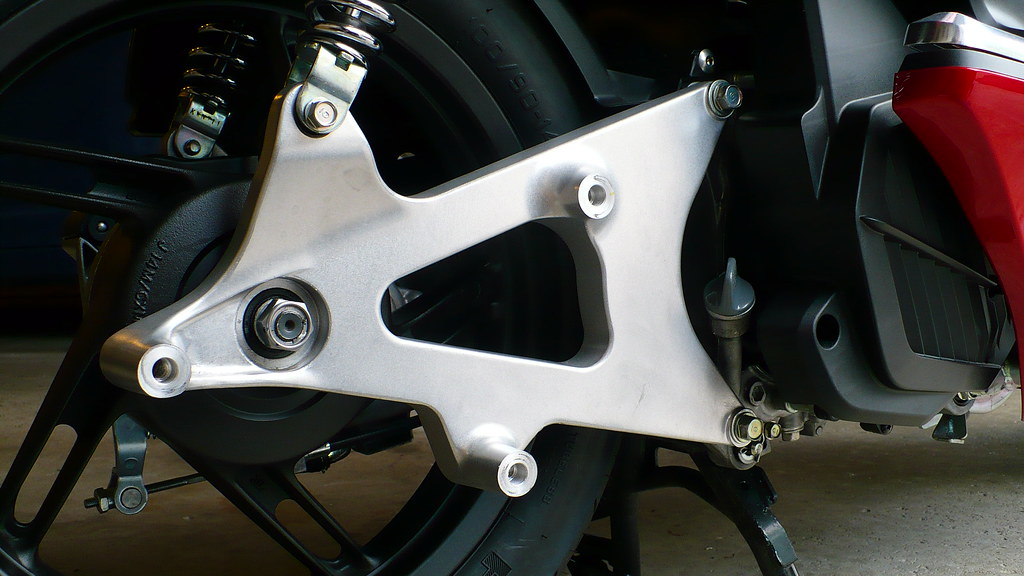
4) Squeeze the rear brake the rear brake while loosening the axle nut. When reassembling, torque this nut to 87ft-lbs. (118 N-m)

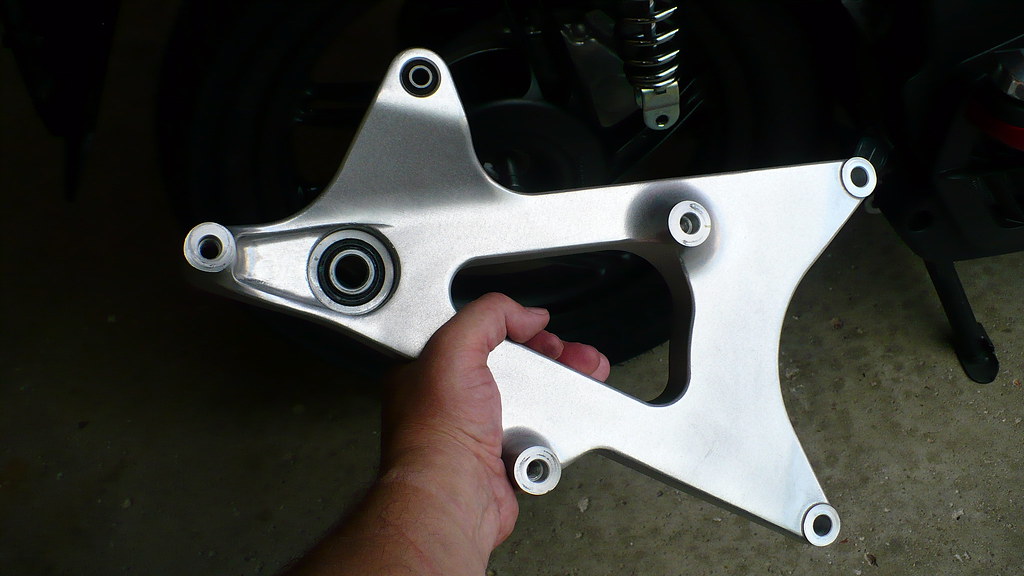
Note: Be careful not to lose the bearing spacer on the back side of the swingarm. It is only held in place by grease.
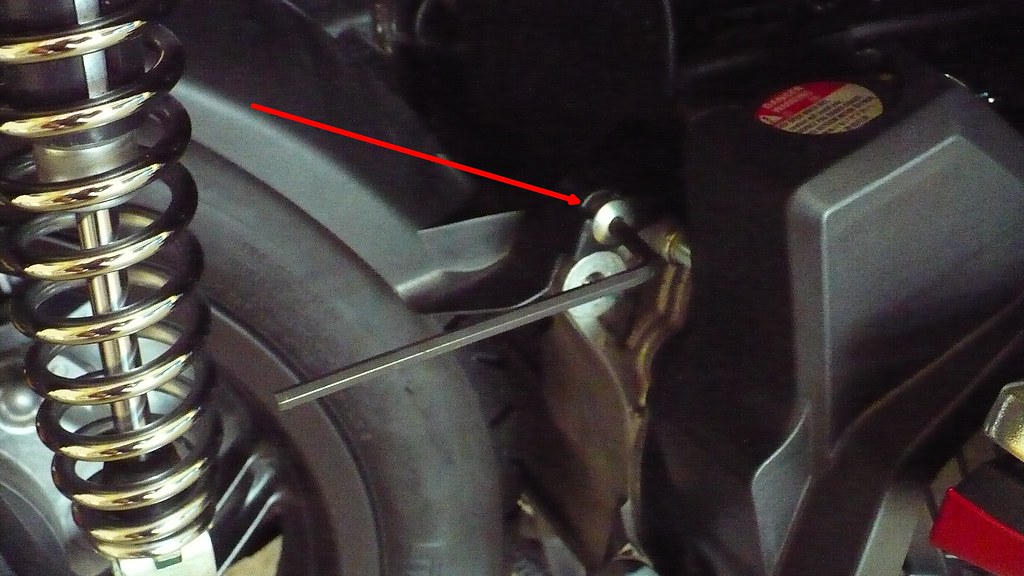
Finally, remove the 5mm Allen head bolt from the plastic mud guard. (3/16 allen will work if you turn slowly and do not strip the head)
5) Push the shock absorber and mud guard out of the way, then pull the wheel off the axle.
ASSEMBLY:
Reverse the assembly process with these additional instructions.
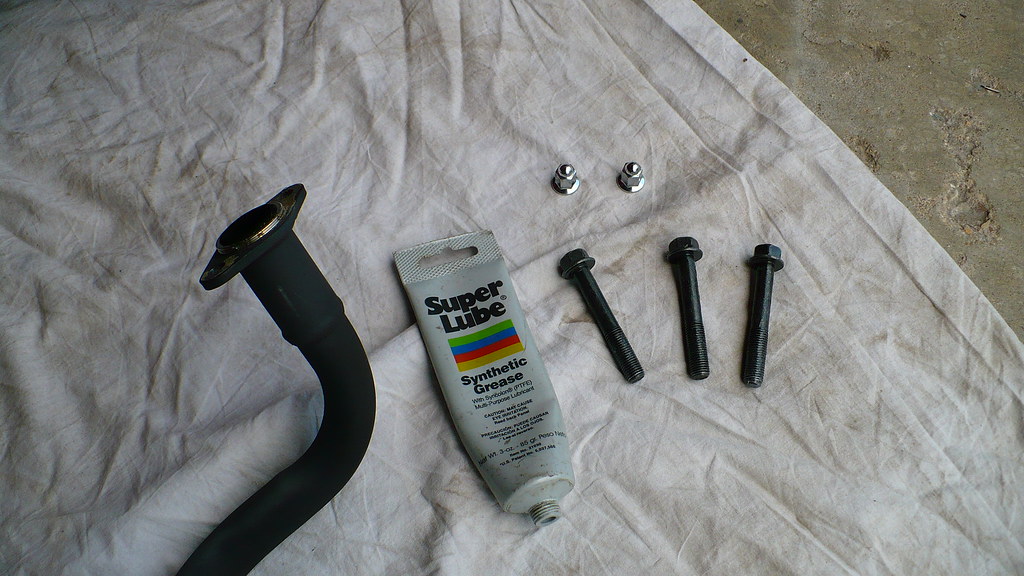
6) It’s a good idea to use anti-sieze compound on all the bolt threads. (grease works also)
7) While holding the muffler, insert the top bolt and hand-tighten it a few turns. This will allow the muffler to hang freely while you secure the manifold nuts.
Laying on the ground, use that handy mirror again to line up the muffler to the exhaust manifold bolts. Install the manifold nuts and finger-tighten until snug. Do not torque the nuts yet.
8. Install the remaining muffler bolts and finger-tighten all 3. Do Not torque these yet.
9) Now torque the muffler nuts. (as specified in the service manual)
Finally, torque the 3 muffler bolts. (as specified in the service manual)
10) Stand back and congratulation yourself on a job well done. Optional: Have a cold beer or take a nice long ride, but not both.