I've had the Shad SH39 top box installed for almost a year now, and I bought a Shad auxiliary brake light kit for it around the first of the year. Since I've been trying to get my own business started (and I haven't been riding the scoot very much), I haven't wanted to take the time to install the brake light. I finally took the time to install the brake light (along with carving out additional drive belt airflow for the Yuminashi variator upgrade), and thought I'd share the process.
First off, I bought the "wrong" brake light kit for my top box! I should've bought a DOB29KL, but found a returned DOB50KL on Amazon for $29, so I bought that instead. I couldn't find a good side-by-side comparison picture on the web, but it looks as though the 50 brake light is a little wider than the 29, and has more wrap-around reflectors on the L/R sides. (Both good things, in my opinion.) I think the 29 might also sit flush against the plastic mounting plate, while the 50 drops slightly below to plate. (Maybe good? Maybe bad?) The electrical connections look the same on both lights, so the only drawback was having to modify my SH39 mounting plate. Also, Shad labels both the DOB29KL and the DOB50KL as "LED lights," but this 50 is an incandescent bulb light! I discovered this when I hooked it up and one of the bulbs was burned out!
Okay, so here's the process, in pictures:
First, here's the Shad-supplied connectors. You're supposed to cut the two brake wires in your PCX harness and "plug in" these connectors. The problem (for me) was that I didn't have any corresponding round/bullet male connectors to splice onto the PCX wires.
- 01.JPG (475.24 KiB) Viewed 1484 times
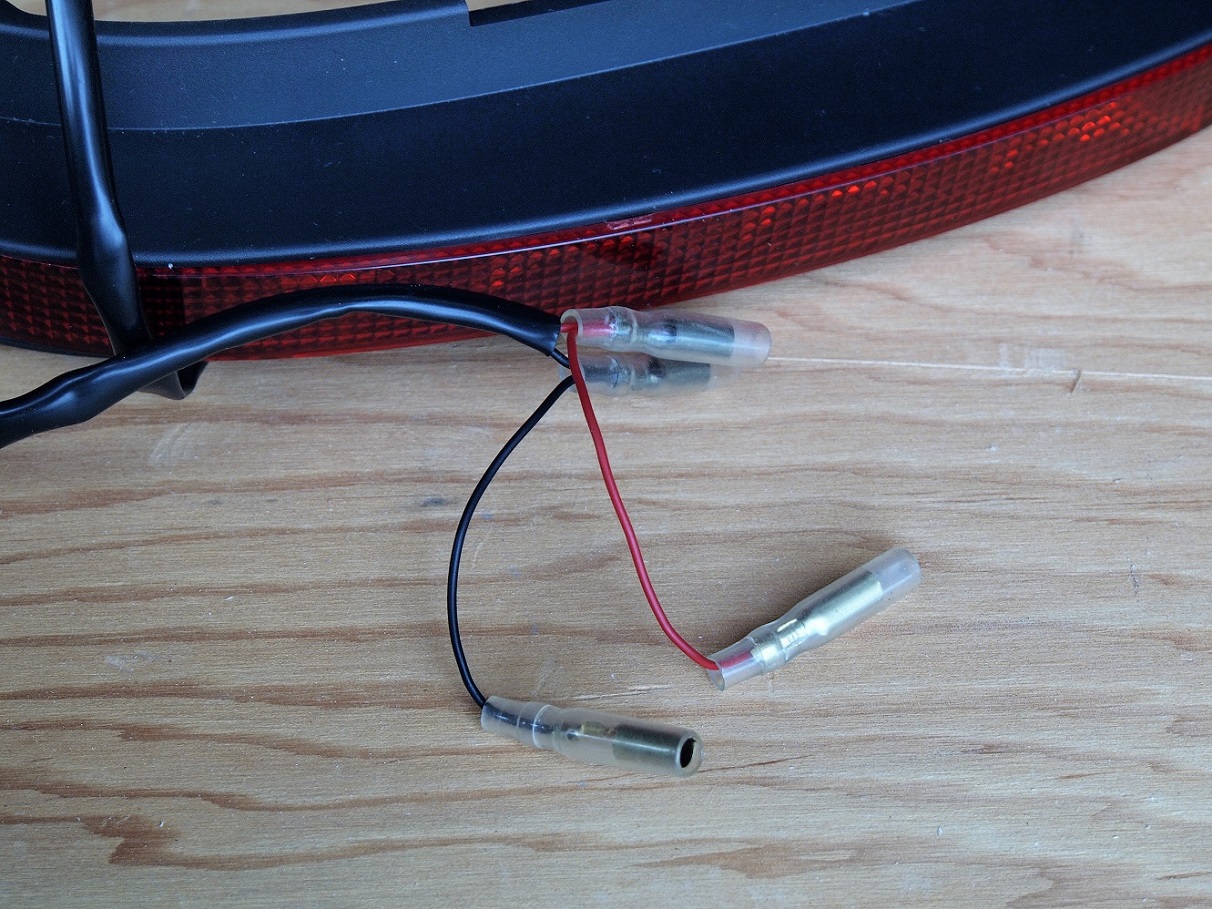
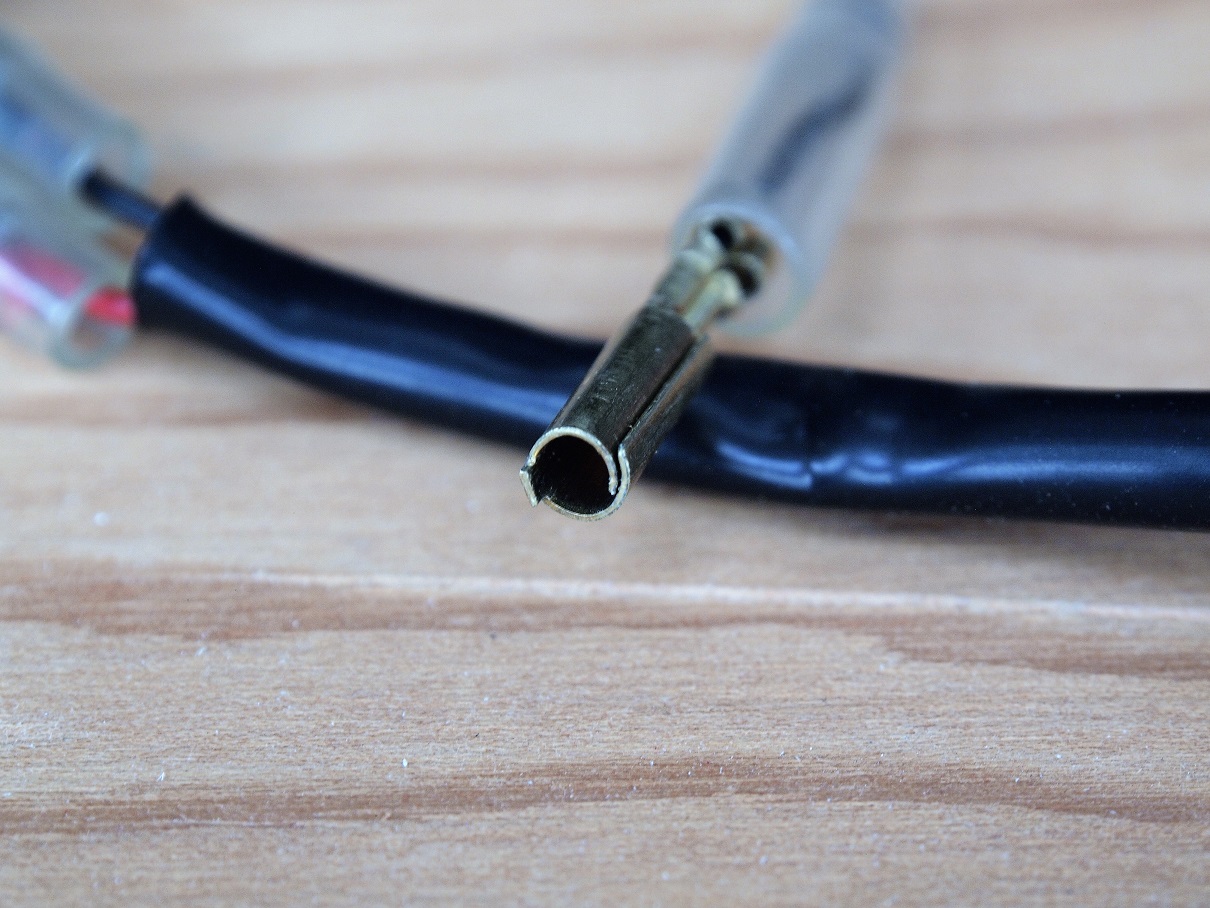
So, I simply snipped off the two pigtails to use as aux lines:
- 02.JPG (559.16 KiB) Viewed 1484 times
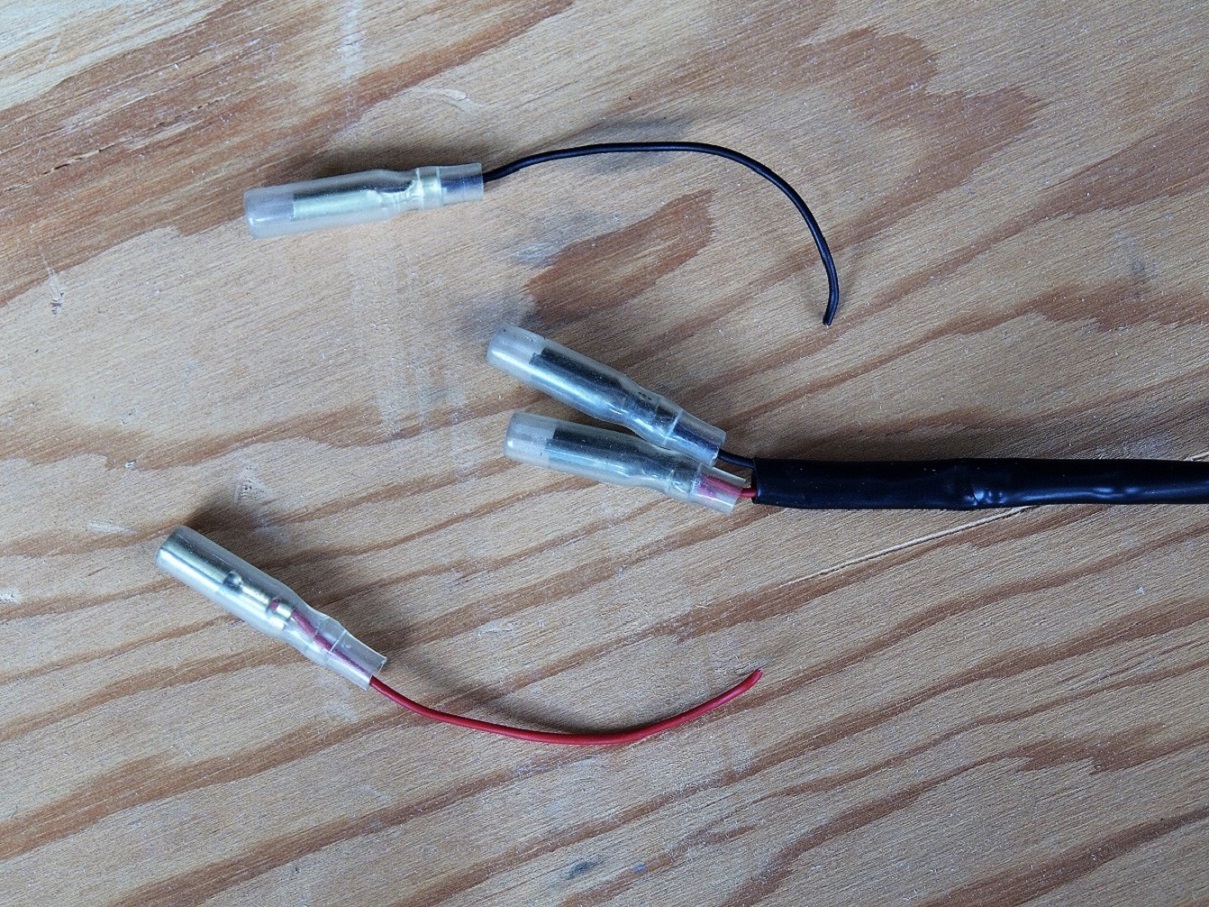
Next, I looked for a good way to connect the two female connectors. I had some butt -splice inserts that fit perfectly:
- 03.JPG (668.39 KiB) Viewed 1484 times
- 04.JPG (645.66 KiB) Viewed 1484 times
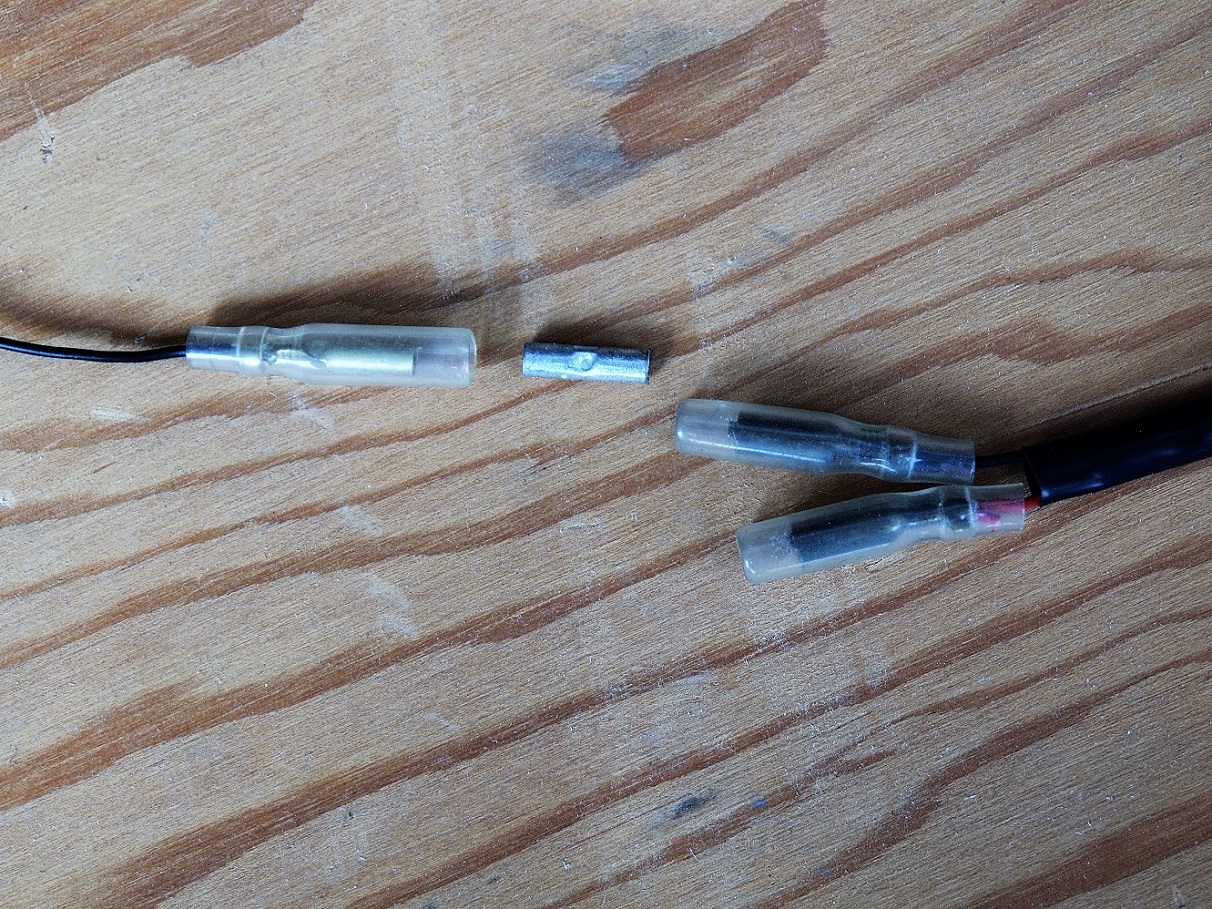
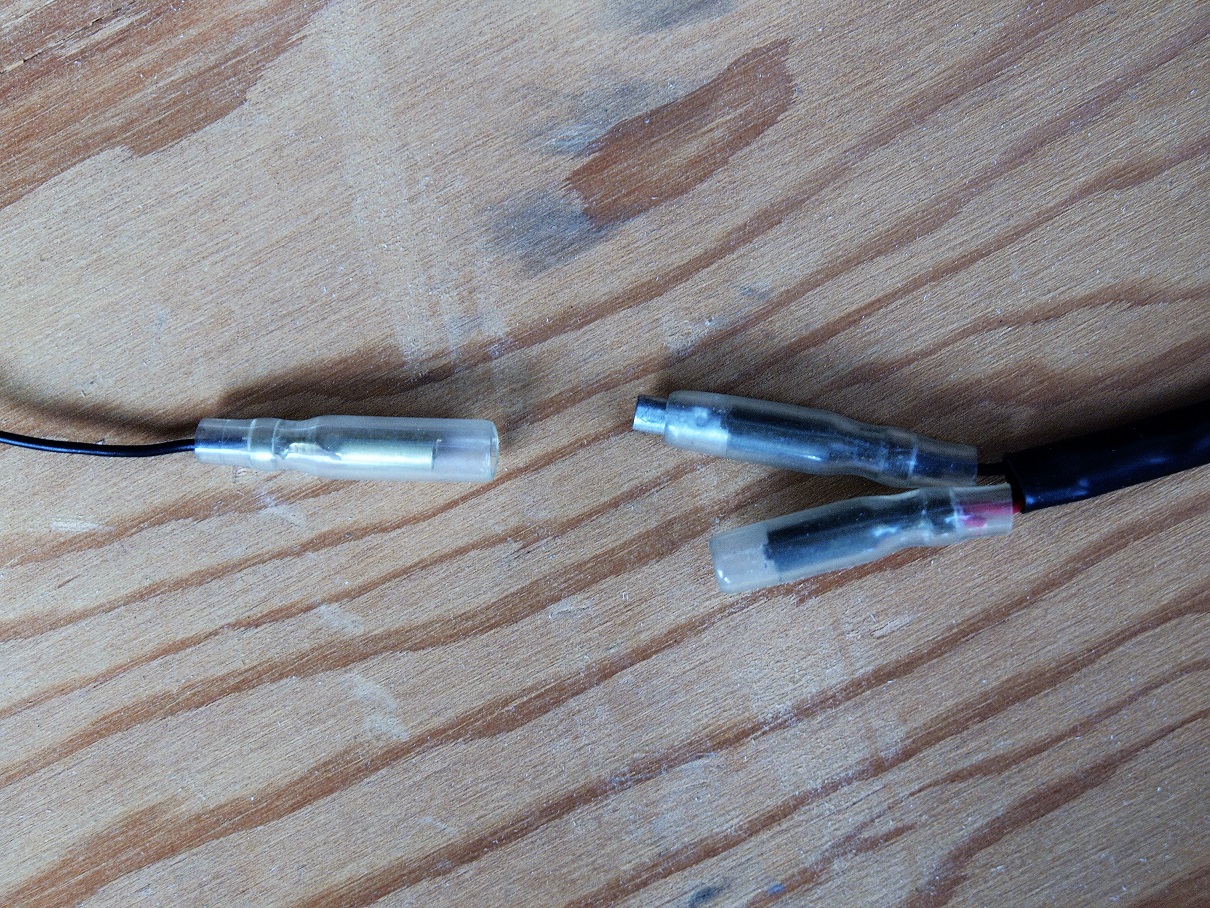
However, rather than add another component, I decided to simply squeeze one of the female tubes into a smaller roll, to fit inside the corresponding connector:
- 05.JPG (349.61 KiB) Viewed 1484 times
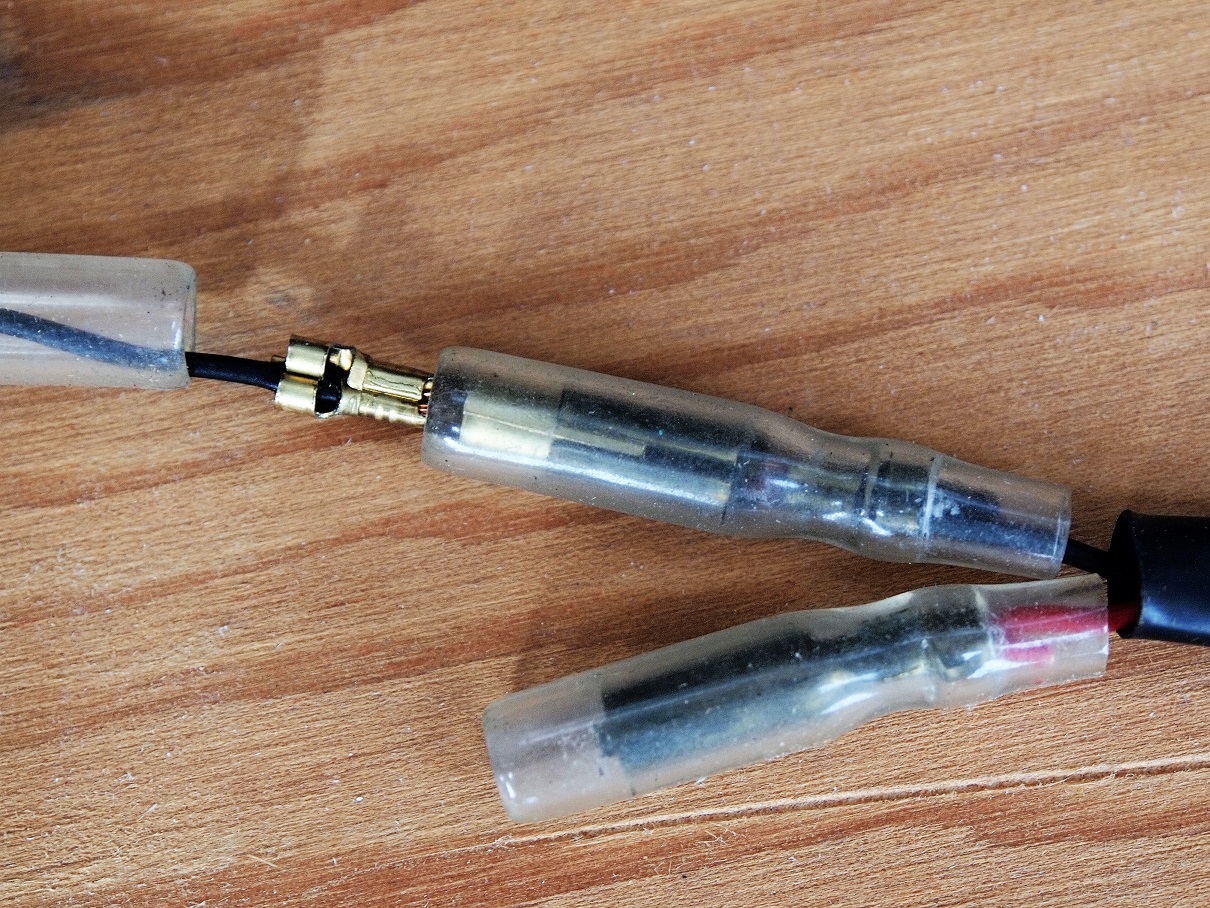
- 06.JPG (589.65 KiB) Viewed 1484 times
Next, I separated the brake/turn signal connector block on the PCX wire harness, and carefully released the catch-tabs on the two wires that operate the brake light:
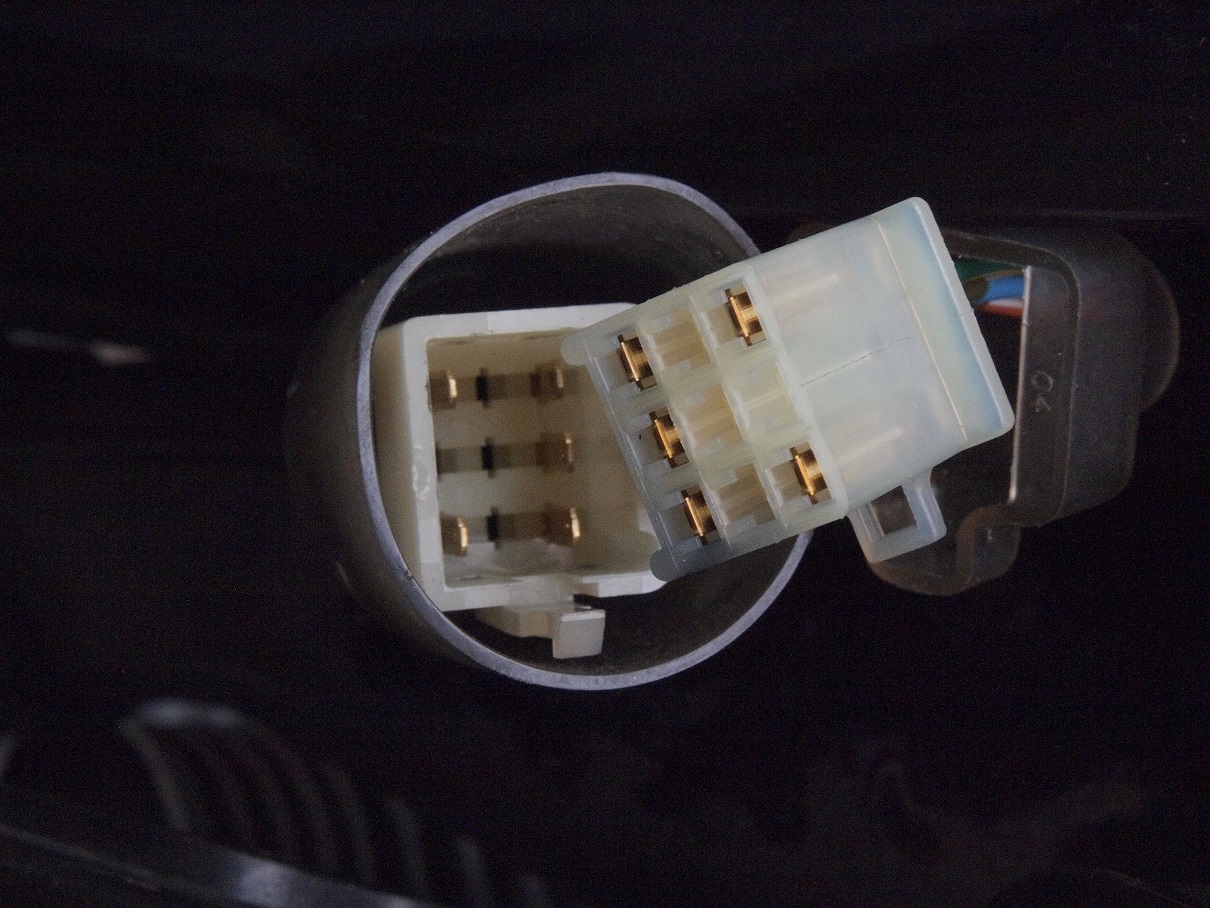
- 07.JPG (444.42 KiB) Viewed 1484 times
- 08.JPG (442.85 KiB) Viewed 1484 times
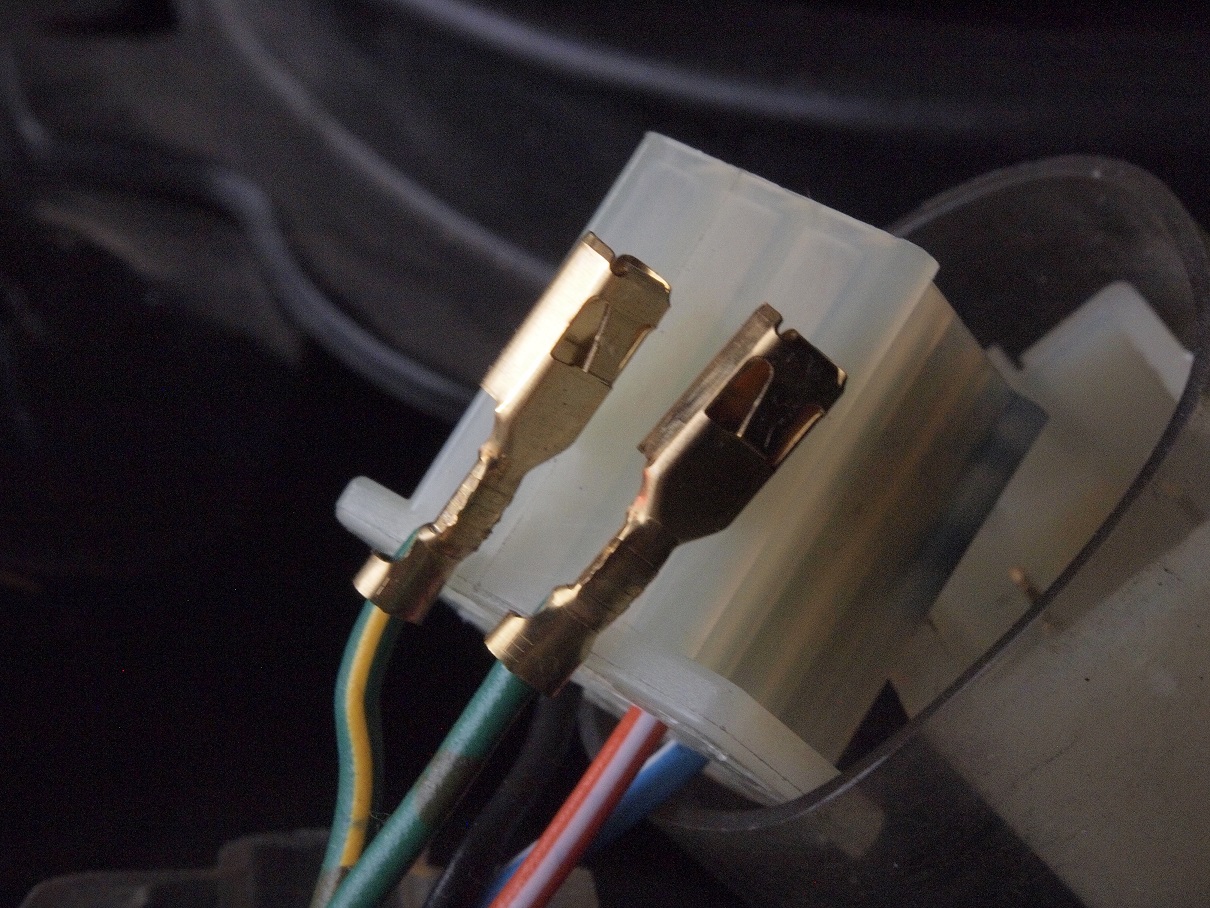
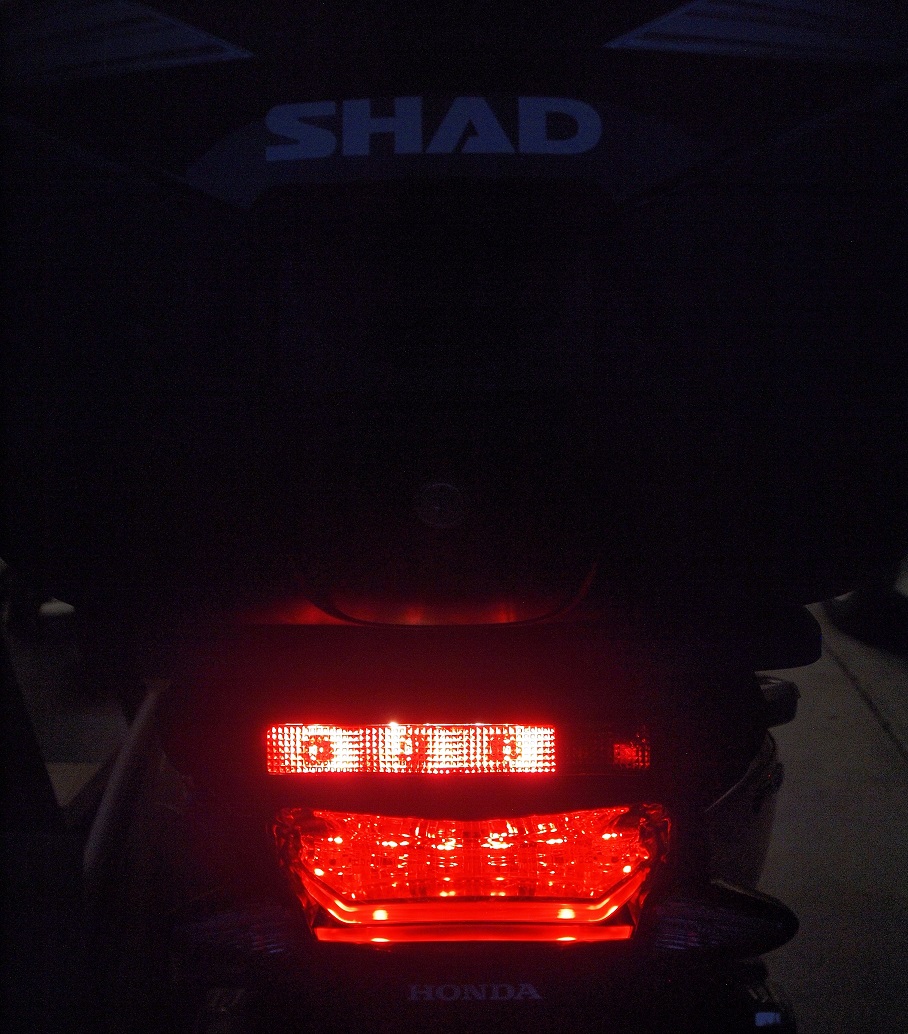
Then, I soldered the pigtails onto these connectors, reinserted them back into the block, closed the block, threaded the Shad light's cable through the rear cover, and connected (and tested) the light:

- 09.JPG (463.79 KiB) Viewed 1484 times
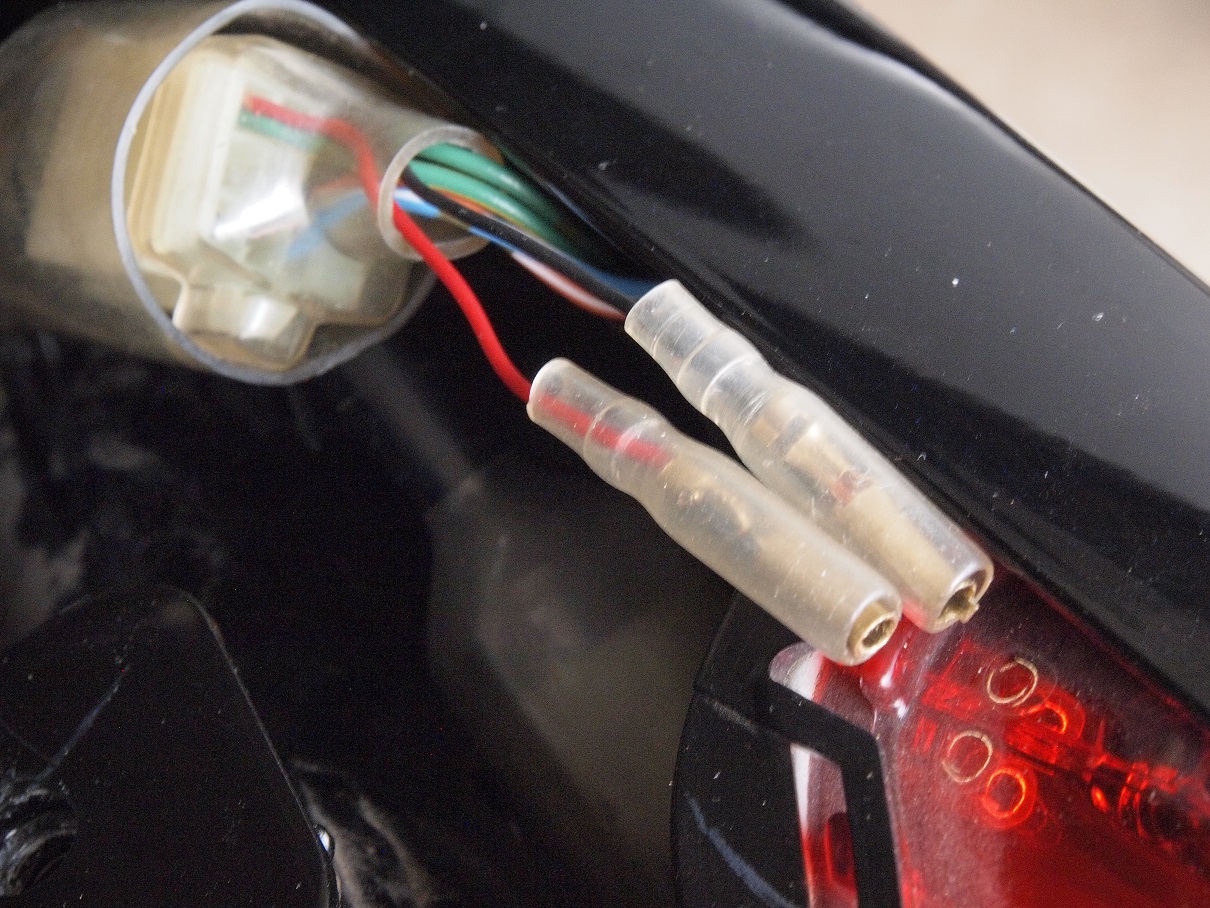
- 10.JPG (445.85 KiB) Viewed 1484 times
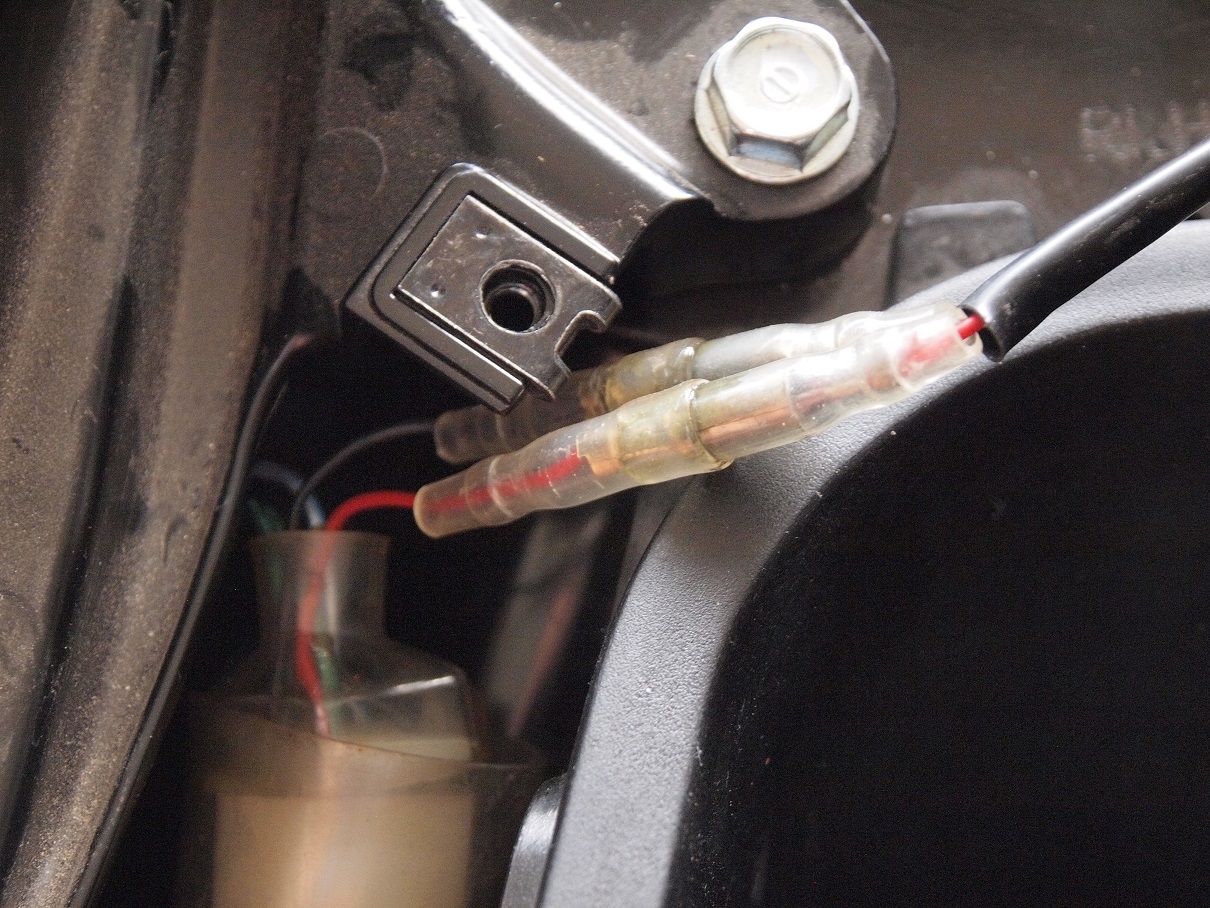
- 11.JPG (473.89 KiB) Viewed 1484 times
Now that the electrical was done, I needed to make my mounting holes. From the pictures online, it looks like the DOB29KL has two mounting holes while the DOB50KL has three. Of course, none of the holes in the top box's mounting plate or rack aligned with the 50's holes. I ended up drilling one new hole in the rack and two new holes in the plastic mounting plate:
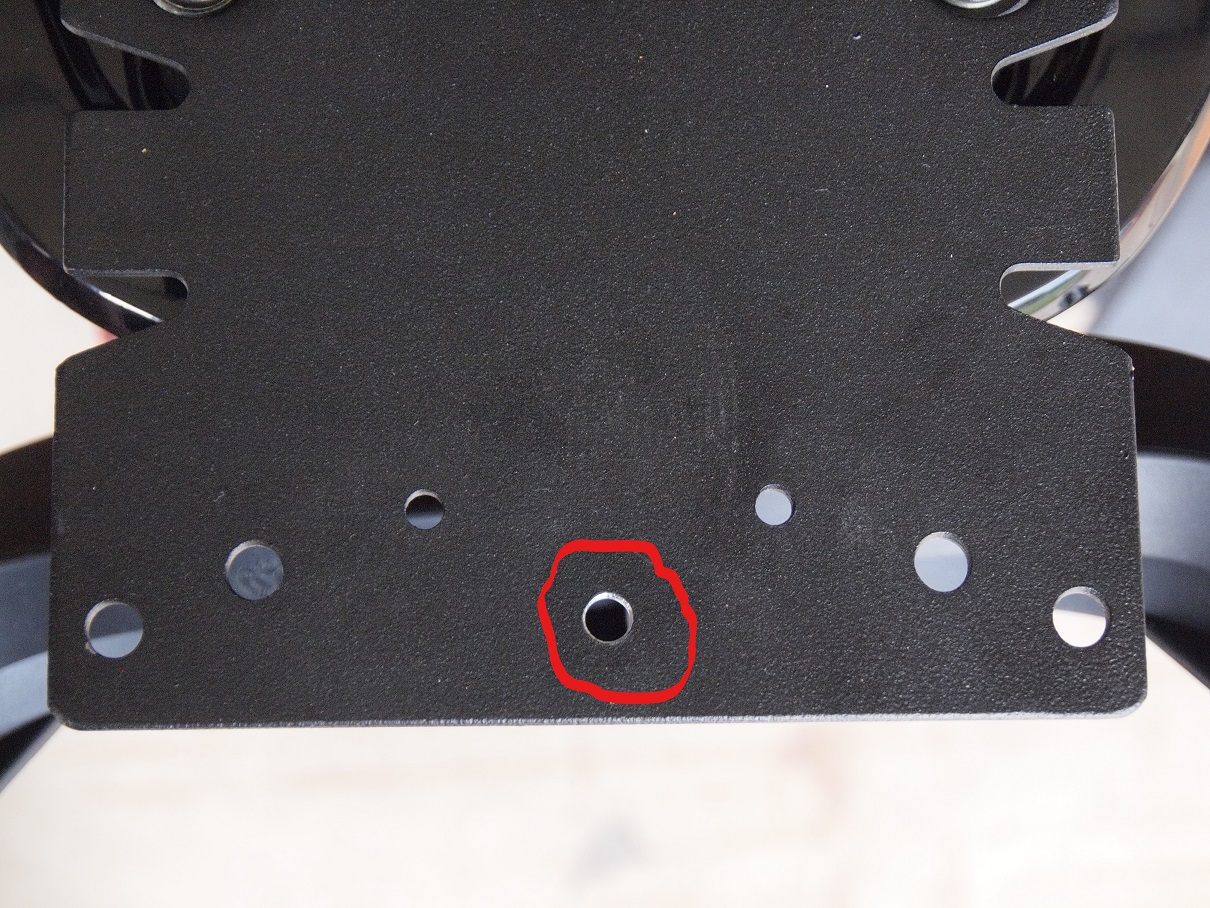
- 12.jpg (455.09 KiB) Viewed 1484 times
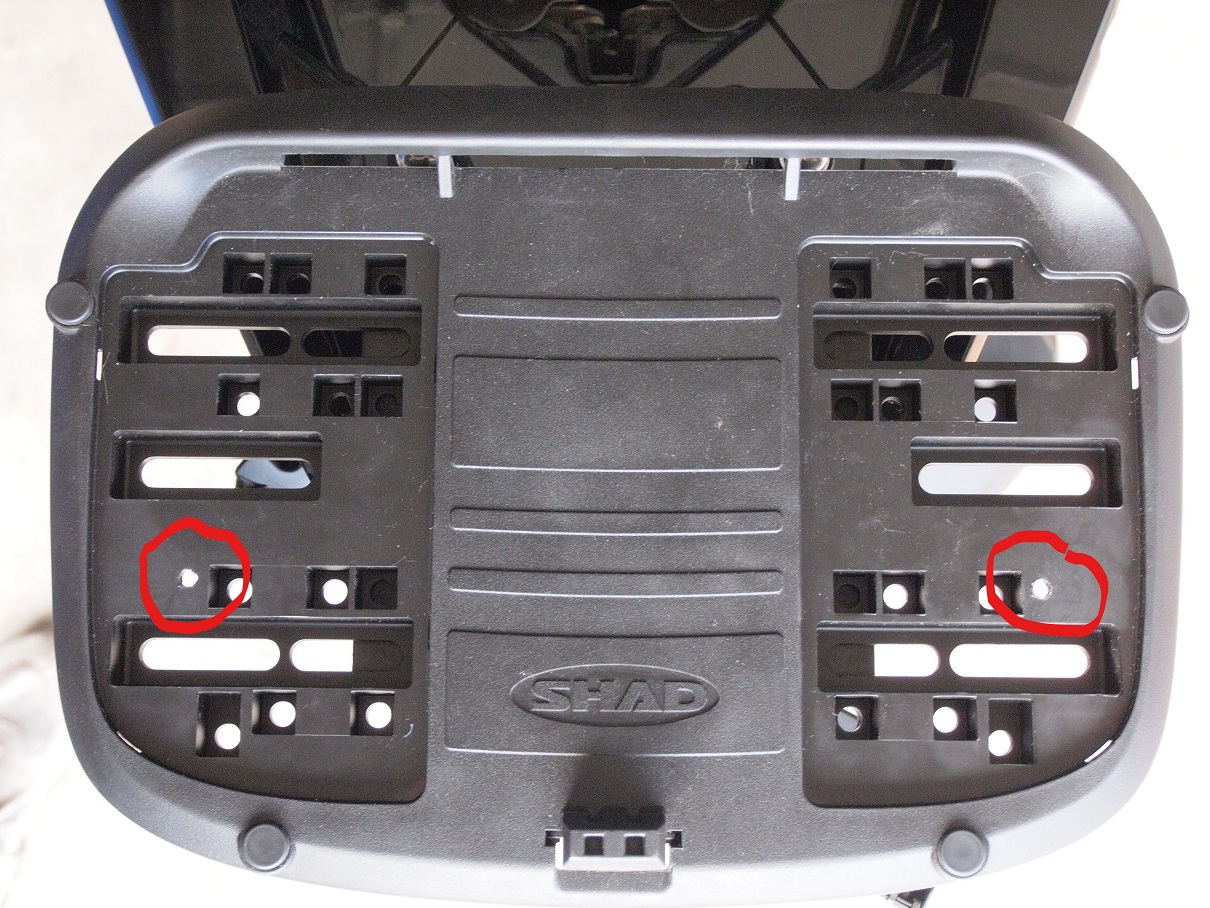
- 13.jpg (439.71 KiB) Viewed 1484 times
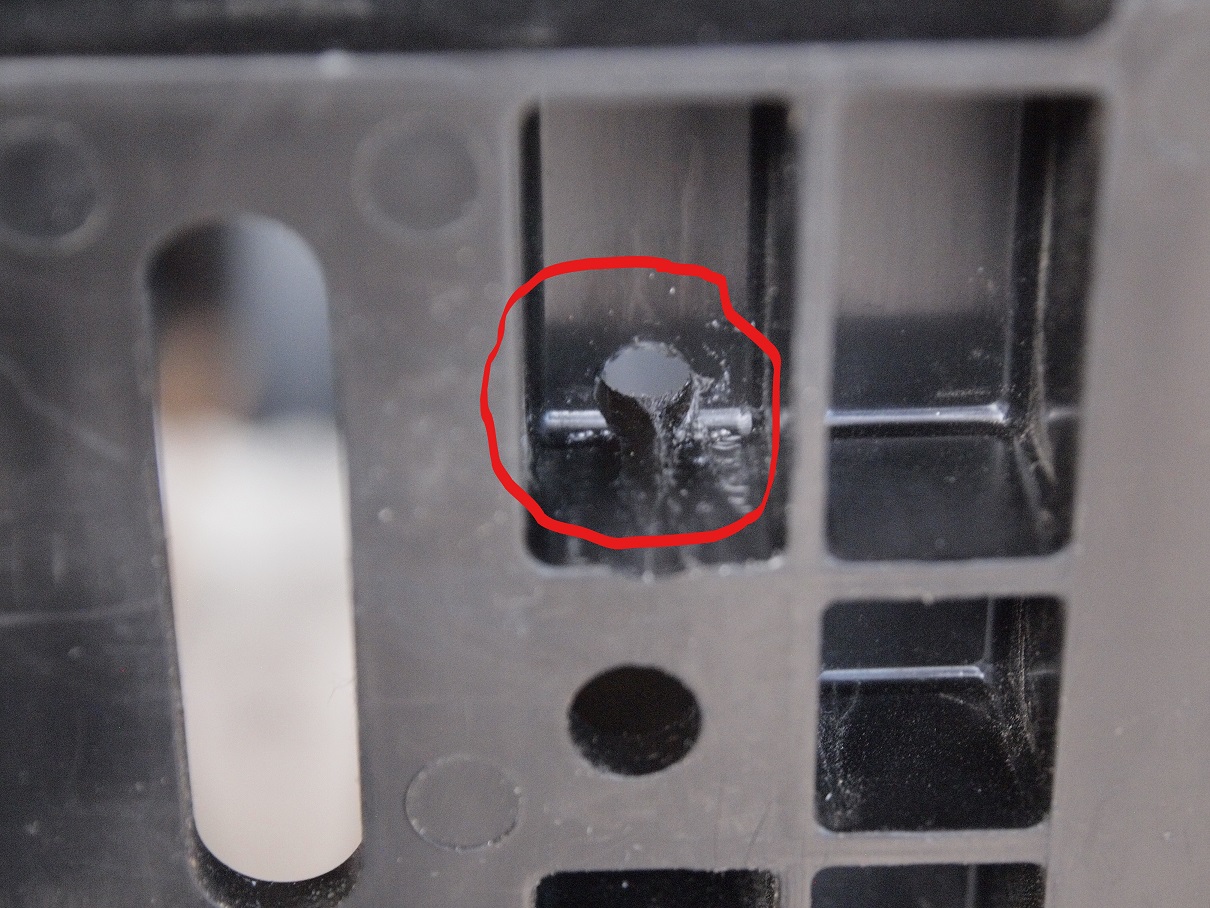
- 14.jpg (388.33 KiB) Viewed 1484 times
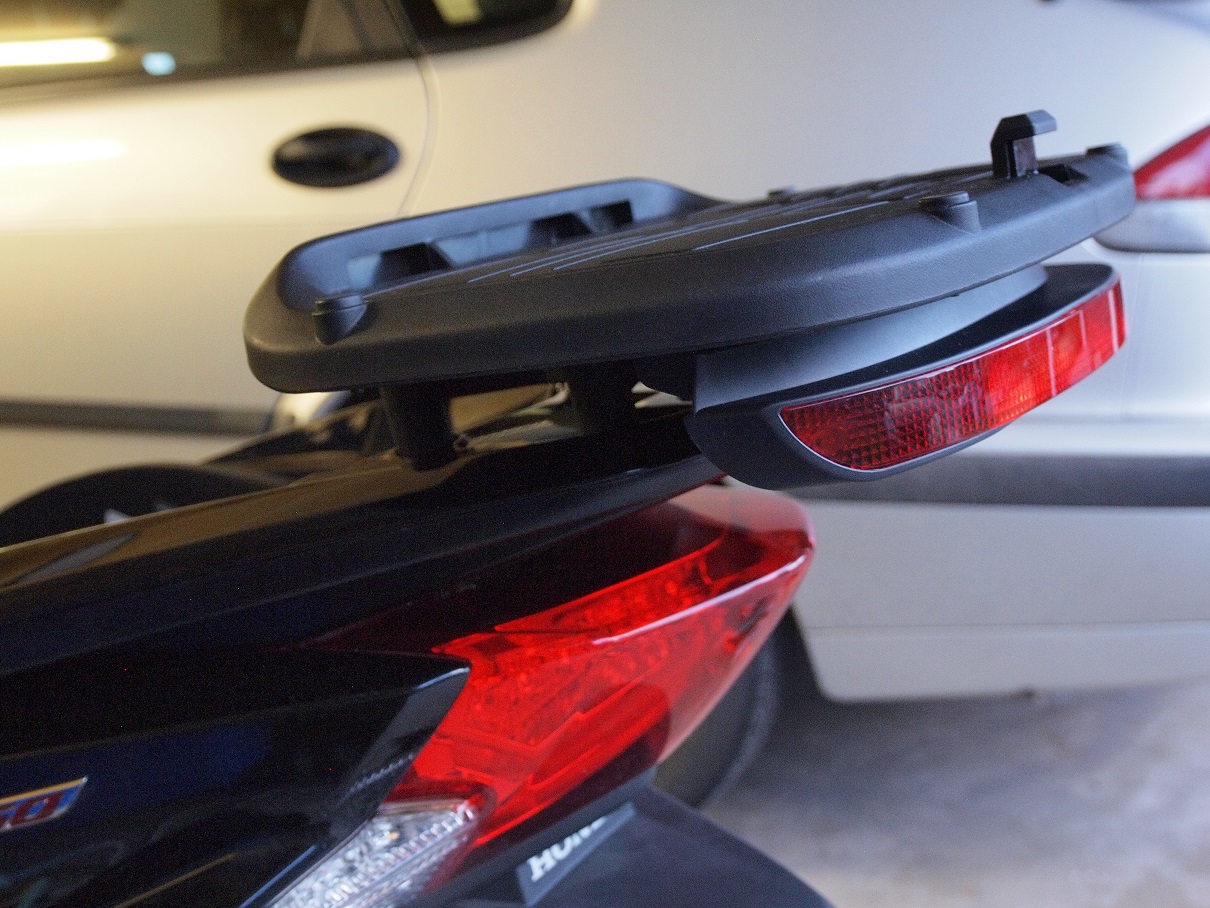
I also needed to carve away a little bit of ribbing under the plastic mounting plate where the center mounting screw was going to go (sorry, no picture; it was easy with an X-acto knife). I was then able to reassemble everything! The DOB50KL sits flush with the edge of the plastic mounting plate, so there's less chance of damaging it when the top box is off.

- 15.JPG (444.56 KiB) Viewed 1484 times

- 16.JPG (426.94 KiB) Viewed 1484 times
- 17.JPG (395.11 KiB) Viewed 1484 times
Now I just need to get a W5W bulb to replace the one with a broken filament:
- 18.JPG (346.17 KiB) Viewed 1484 times


