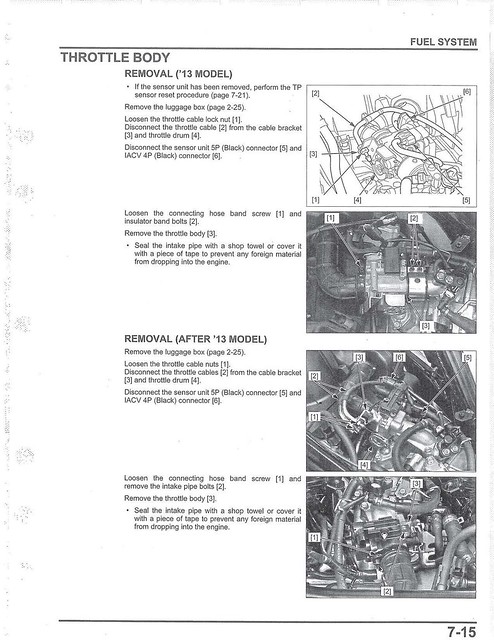
Step Five - Replace the Cam Chain Tensioner (page 10-8)
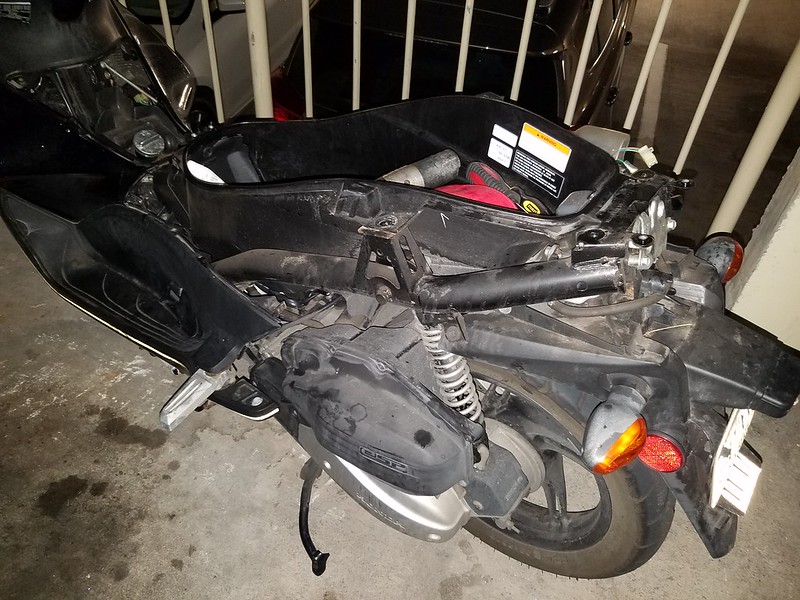
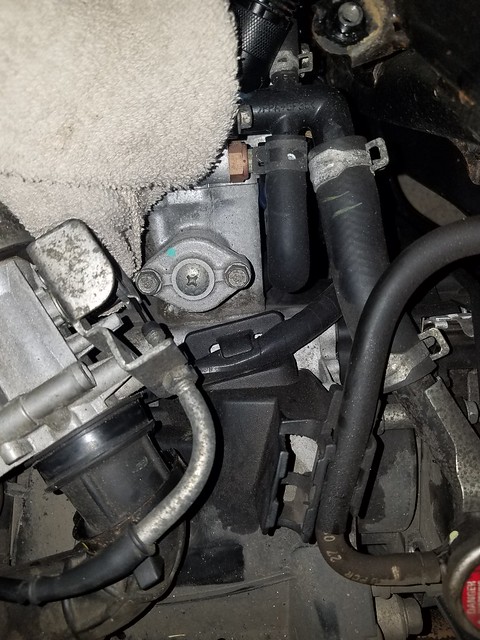
Your engine should look like this:
Don't try to remove the screw in the center of the tensioner. It's factory over tightened. Some users report needing an impact wrench to remove. Forget it. Just purchase a separate screw and o-ring identified above.
Take out the two bolts and the tensioner will lift right out. If the gasket didn't come off, remove it as well. You'll know the tensioner is broken when it is retracted (short). There is a spring & ratchet that pushes a rod in the tensioners against a skid plate that keeps tension on the cam chain and prevents the rod from retracting. When it breaks the tensioner rod retracts and looks like the pic in the first post.
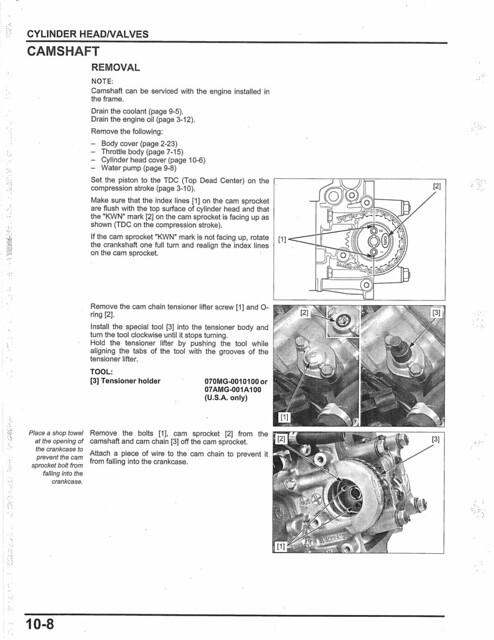
My tensioner came with a small plastic piece that inserts into the hole/screw head under the screw at the center of the tensioner. Inside the hole under the screw is a screw head (flat head) that if turned allows the tensioner rod to be retracted. If you don't have that plastic piece (or a $100 Honda tool as seen in the service manual), once you take out the screwdriver from the hole, the tensioner rod fully extends. If you have the plastic piece/tool, simply turn the tensioner rod screw with the plastic piece/tool until the rod is completely retracted and leave the plastic piece in the hole. The plastic piece will prevent the tensioner rod from fully extending. Then you can install the gasket and tensioner, tighten the bolts, then take out the plastic piece, which will then extend the tensioner rod, applying the correct amount of tension on the cam chain.
If you don't have that plastic piece/tool, then you'll need a second pair of hands to hold the flat head screwdriver in place in the tensioner rod hole while you bolt in the tensioner in place. Once bolted in place, then you can remove the screwdriver. You will not be able to install the tensioner if the rod is fully extended.
Once bolted, install the o-ring and phillips screw. Reinstall the throttle body and fire up the bike to confirm proper working order.
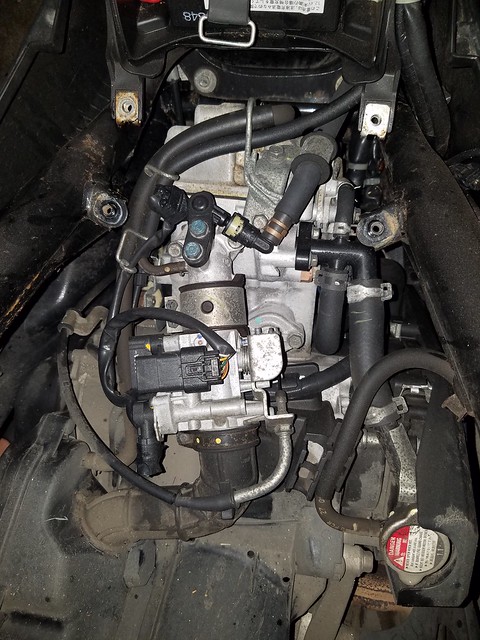
If everything is in working order then proceed with reinstalling everything you just took apart!
Hope this helps!
My flickr album with all these pics and pics of the service manual:
https://www.flickr.com/photos/kiapolo/a ... 6236049029